Table of Contents
ToggleBuilt-in fireplaces do more than heat a room, they anchor a space, create visual weight, and offer opportunities for clever storage and seating. Whether retrofitting an existing fireplace or planning new construction, integrating cabinetry, shelving, or architectural finishes around the firebox turns a functional appliance into a design centerpiece. This guide walks through six approaches, from sleek modern installs to budget-friendly cosmetic updates, with attention to materials, clearances, and the structural realities that separate Pinterest dreams from code-compliant builds.
Key Takeaways
- Built-in fireplace ideas should prioritize safety by maintaining proper clearances from combustible materials (12–36 inches depending on the unit) and verifying local building codes before installation.
- Modern built-in fireplaces use clean lines, integrated media centers, and statement materials like stone or steel, with proper structural support and fire-rated materials required for floor-to-ceiling designs.
- Built-in seating benches and flanking cabinetry maximize space in small homes, but require sturdy framing anchored to wall studs and careful planning to avoid blocking sightlines or compromising storage.
- Fireplace surround materials range from natural stone and porcelain tile to brick veneer and concrete, each offering different heat tolerance, maintenance, and aesthetic appeal.
- Cosmetic upgrades like whitewashing brick, applying tile paint, or adding trim can refresh a dated fireplace without structural work, making them ideal DIY projects for budget-conscious homeowners.
- Two-sided and see-through built-in fireplaces create architectural drama but require reinforced structural support, proper venting systems, and careful placement to maintain room flow and heating efficiency.
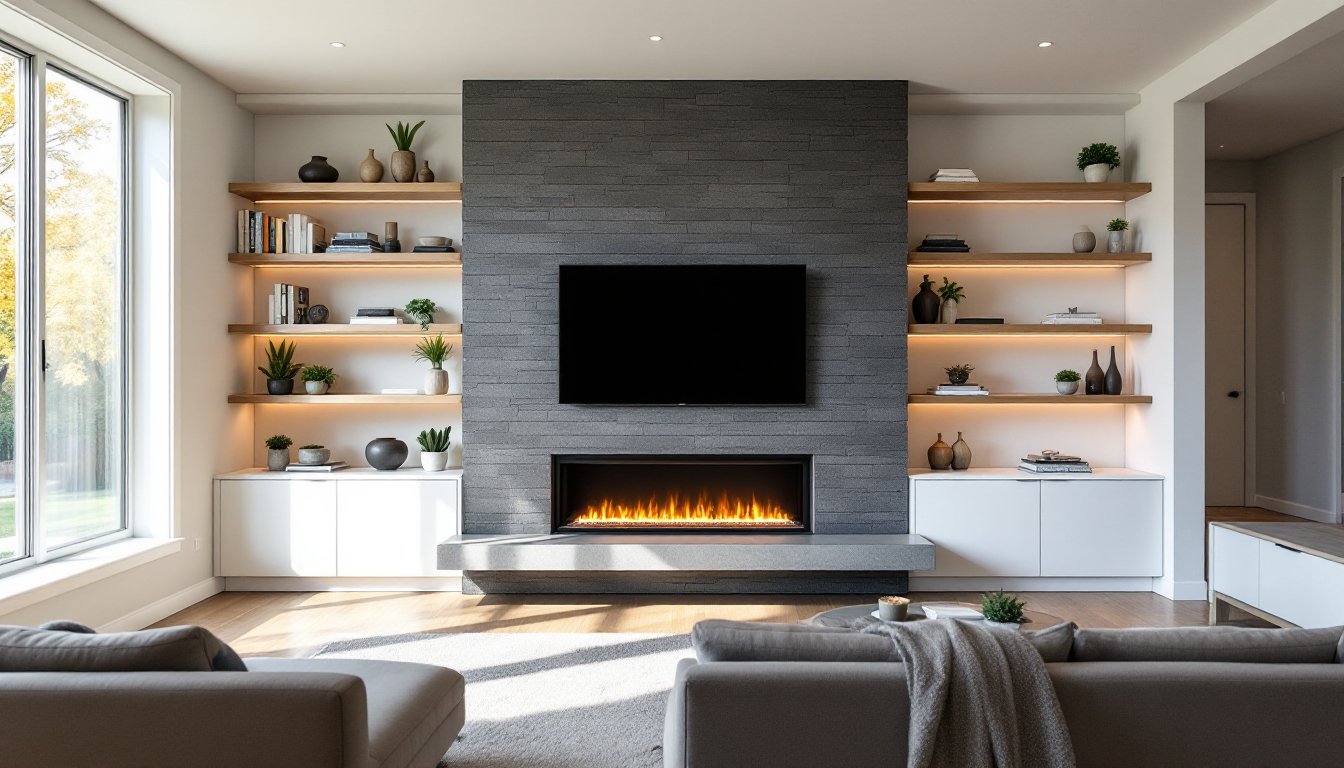
Modern Built-In Fireplace Designs for Contemporary Homes
Contemporary built-ins favor clean lines, asymmetry, and minimal ornamentation. Linear gas or electric fireplaces, often 36″ to 60″ wide with narrow profiles, fit flush into wall assemblies or media centers without the bulk of traditional masonry.
Key design elements:
- Floating hearths and surrounds: Cantilevered stone or concrete slabs create visual lightness. Ensure adequate structural support: a 12″ deep concrete slab may require steel brackets anchored to wall studs or blocking.
- Floor-to-ceiling installations: Vertical stacked stone, large-format porcelain panels, or blackened steel run from floor to ceiling, eliminating the traditional mantel. This works well in two-story great rooms but requires fire-rated materials and proper clearances per manufacturer specs.
- Integrated media centers: Electric fireplaces built into TV walls need heat management, maintain at least 6″ clearance above the firebox for electronics, and consider recessed venting or models with front-only heat output.
- Hidden venting: Direct-vent gas units exhaust through exterior walls (typically 4″ to 5″ pipe), allowing placement on any exterior wall without a chimney. Verify local codes: some jurisdictions restrict vent termination near windows or air intakes.
Contemporary aesthetics often prioritize the fireplace as sculpture. Materials like hot-rolled steel, honed granite, or large-format tile (24″ × 48″ or bigger) reduce grout lines and visual clutter. Keep in mind that modern design trends showcased on interior architecture sites often require custom fabrication, expect higher labor costs and longer lead times than stock mantels.
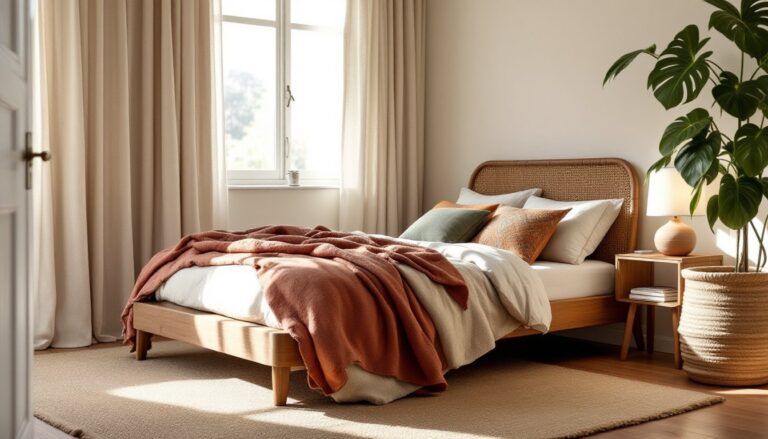
Creating a Cozy Reading Nook with Built-In Fireplace Seating
Built-in benches flanking a fireplace turn dead space into functional seating. This works especially well in narrow living rooms, bump-outs, or bay windows where freestanding furniture feels cramped.
Construction basics:
- Frame the bench: Use 2×4 framing anchored to wall studs and the subfloor. Standard seat height is 18″, depth 20″ to 24″. If the fireplace is centered, symmetrical benches maintain balance.
- Firebox clearances: IRC (International Residential Code) and manufacturer specs dictate minimum clearances, typically 12″ to 36″ from combustible materials depending on the unit. Built-in wood seating counts as combustible: verify clearances before framing.
- Storage underneath: Lift-top or drawer access adds function. Use 3/4″ plywood for the seat deck, supported every 16″ to prevent sagging. Piano hinges or soft-close lift mechanisms prevent slammed fingers.
- Cushions and upholstery: Removable cushions (foam density 1.8 lb or higher) handle daily use. Consider outdoor fabric for stain resistance, or treat with a protectant.
Safety note: If the fireplace is wood-burning, keep upholstery and pillows at least 36″ from the firebox opening to prevent ember contact.
This setup shines in homes with limited square footage. A window seat on one side and open shelving on the other creates asymmetry without sacrificing storage. Just don’t skimp on structural support, an adult sitting on unsupported plywood over a 30″ span will crack the deck or pop fasteners.
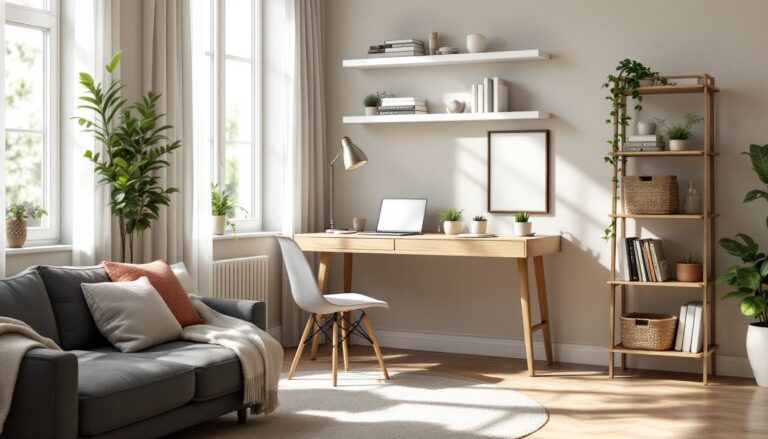
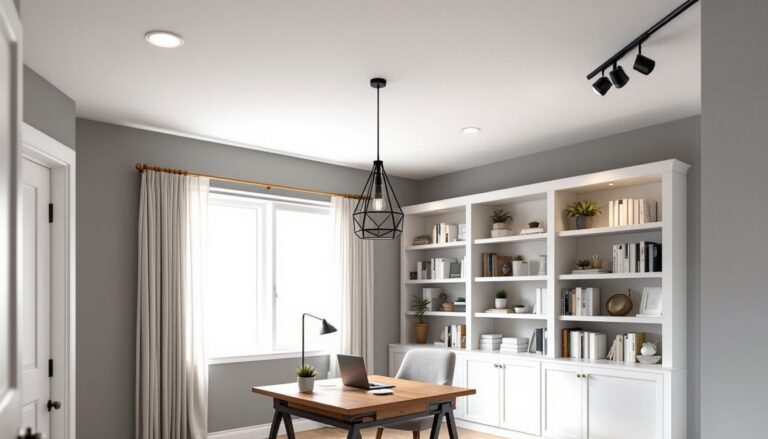
Built-In Shelving and Storage Around Your Fireplace
Flanking cabinetry transforms a fireplace wall into a library or display. This is cosmetic carpentry in most cases, no permits required unless you’re altering load-bearing walls, but precision matters.
Planning the layout:
- Symmetry vs. asymmetry: Matching bookcases on both sides suit traditional rooms: staggered shelves or a single tower work in eclectic spaces.
- Depth: Standard bookcases run 12″ deep: media cabinets need 16″ to 20″ for AV components. Shallow shelves (8″ to 10″) work for decor but won’t hold books.
- Height: Floor-to-ceiling units require a nailer or cleat anchored to studs at the top. Use a ledger board (1×4 or 2×4) screwed into studs to support the cabinet’s upper rail.
Construction options:
- Factory cabinets: Stock kitchen cabinets (12″ or 15″ deep wall units) save time. Add a face frame or trim to match the room’s molding. Shim and level carefully, fireplace walls are rarely plumb.
- Custom built-ins: Frame with 2×2 or 2×3 lumber, sheath with 3/4″ plywood, and finish with hardwood face frames. Adjustable shelf pins (drilled on 1-1/4″ centers) offer flexibility.
- Floating shelves: Use hidden brackets rated for the load (books are heavy, figure 10 lb per linear foot minimum). Anchor into studs or blocking, not just drywall.
Many design galleries, including collections of built-in cabinets around fireplaces, show integrated lighting, low-voltage LED puck lights or strip lighting add depth. Wire them before closing up the structure: fishing cable later is a headache.
Common mistake: Forgetting to account for baseboard and crown molding. If the room has 5″ baseboards, either notch the cabinet toe kick or remove the baseboard behind the unit for a flush fit.
Fireplace Wall Materials and Finishes That Make a Statement
The surround material defines the fireplace’s character. Choose based on heat tolerance, aesthetics, and installation complexity.
Heat-resistant options:
- Natural stone (stacked, ledger, or slab): Slate, limestone, and granite handle direct heat. Stacked stone (often 6″ × 24″ panels) installs over cement board with thinset mortar. Expect $15 to $40 per square foot材料 cost, plus labor. Seal porous stone annually to prevent soot staining.
- Porcelain tile: Large-format tiles (12″ × 24″ or bigger) mimic marble or concrete with less weight and cost. Use unsanded grout for seams under 1/8″: sanded for wider gaps. Porcelain is non-combustible and low-maintenance.
- Brick: Thin brick veneer (1/2″ to 1″ thick) delivers traditional warmth without a full wythe. Whitewashing or limewashing softens red brick: use diluted latex paint (1:1 with water) for a translucent finish.
- Metal panels: Steel, copper, or blackened iron create industrial edge. Most are custom-fabricated and installed over fire-rated substrate. Sharp edges require deburring: wear leather gloves during handling.
- Concrete or plaster: Troweled finishes (Venetian plaster, microtopping) offer texture. These are cosmetic, apply over cement board near heat zones, drywall elsewhere. Sealing prevents water and soot absorption.
Installation tips:
- Cement board (1/2″ thickness) is the standard substrate for tile or stone near combustion appliances. Fasten with cement board screws every 8″ and tape seams with fiberglass mesh.
- Maintain clearances: non-combustible materials can usually extend to the firebox edge, but double-check the manual, some zero-clearance units still require setbacks.
- Butter the back of heavy stone tiles (back-buttering) plus to thinset on the substrate to prevent voids and future cracking.
Don’t overlook the hearth extension: For wood-burning fireplaces, the IRC mandates a non-combustible hearth extending 16″ to 20″ in front of the opening and 8″ to 12″ to each side, depending on firebox size.
Two-Sided and See-Through Built-In Fireplace Options
Double-sided fireplaces open to two rooms, living room and dining room, bedroom and bath, or indoors and out. They’re architectural statements but come with trade-offs.
Installation considerations:
- Structural support: Most see-through units are heavy (gas models: 200–400 lb: masonry: much more). Verify floor joist capacity or add a reinforced footer if installing on a slab.
- Venting: Direct-vent gas models exhaust through the roof or exterior wall. If the fireplace sits on an interior wall, you’ll need a chase or chase cover to conceal the vent pipe. Wood-burning see-throughs require a full masonry chimney, expensive and space-intensive.
- Draft and efficiency: Open on both sides means heat escapes in two directions. Gas units with blowers improve heat distribution: wood-burners lose efficiency. If heating is the goal, a single-sided unit with insulated surround works better.
- Room flow: Positioning matters, place perpendicular to main traffic paths to avoid blocking sightlines. In open-plan homes, a peninsula fireplace can define zones without walls.
Safety and code:
- Both openings need hearth extensions per code (non-combustible material extending 16″ or more).
- Glass doors or mesh screens on both sides prevent embers from entering either room (critical for wood-burning units).
- Check local amendments, some jurisdictions restrict wood-burning fireplaces or require EPA-certified inserts.
See-through fireplaces excel at creating drama. Outdoor-indoor models extend living space onto patios but require weatherproof venting and tempered glass rated for exterior exposure. Expect to budget $3,500 to $8,000+ for the unit alone, before installation, venting, and finishing.
Budget-Friendly DIY Built-In Fireplace Makeover Ideas
Not every upgrade requires demolition. Cosmetic makeovers refresh a dated fireplace without touching the firebox or flue, ideal for renters or cautious DIYers.
Paint and refinish:
- Brick whitewashing: Mix 1 part latex paint (white or off-white) with 1 part water. Brush onto clean brick, then wipe back with a damp rag for a translucent finish. No primer needed: the brick’s texture shows through. One gallon covers roughly 200 sq ft.
- Tile paint: Specialty tile and tub epoxy paints (two-part formulas) bond to ceramic or stone. Sand lightly with 220-grit, clean with TSP, and apply two coats. Suitable for surrounds that don’t see direct flame.
- Mantel staining or replacement: A new mantel beam (solid wood or faux-beam polyurethane) installs with lag bolts into studs. Floating mantels use hidden brackets: ensure they’re rated for the weight (a solid oak beam can exceed 50 lb).
Quick upgrades:
- Peel-and-stick tile: Heat-resistant vinyl or gel tiles mimic subway tile or marble. Not suitable within 12″ of the firebox, but fine for outer surround areas. Cost: $0.50 to $3 per tile.
- Trim and molding: Adding picture-frame trim around the firebox or crown molding above the mantel adds detail for under $100 in materials. Use a miter saw for clean 45° corners: a coping saw works for inside corners on crown.
- Built-in look with stock furniture: Flank the fireplace with matching bookcases (IKEA, Target, or home centers), then add a continuous crown molding and base shoe across all three pieces. Paint everything the same color to unify. No carpentry skills required.
Safety reminder: Never paint inside the firebox or on surfaces that contact flame. Use heat-resistant paint (rated to 1200°F) on metal fireplace doors or inserts.
Browsing renovation galleries on home design platforms can spark ideas, but translate inspiration into your skill level. A faux shiplap accent wall (1×6 pine boards with 1/8″ gaps) behind a fireplace costs under $200 in lumber and installs in a weekend, no contractor required.
Conclusion
Built-in fireplace projects range from simple trim upgrades to complex structural work. Start with a clear goal, heat, aesthetics, or storage, and verify clearances, codes, and load requirements before cutting or fastening. Most cosmetic work is DIY-friendly with basic tools: anything involving gas lines, electrical, or load-bearing changes calls for a licensed pro. Done right, a built-in fireplace becomes the anchor every room needs.