Table of Contents
ToggleA bare deck perimeter screams unfinished. The cut ends of deck boards, exposed joists, and raw framing don’t just look rough, they collect moisture, splinter over time, and age poorly. Edge trim transforms a functional structure into a polished outdoor space while protecting the deck’s structural elements from rot and weather damage. Whether building new or updating an existing deck, the right trim detail adds curb appeal, hides construction gaps, and can extend the life of the entire platform. Here are ten-plus proven edge trim approaches, from traditional fascia boards to modern metal solutions, along with the materials, installation considerations, and design trade-offs for each.
Key Takeaways
- Deck edge trim serves three critical functions—structural protection from rot and moisture, aesthetic concealment of exposed framing, and a mounting surface for accessories—making it essential for both durability and curb appeal.
- Pressure-treated pine fascia is the budget-friendly option at $1–$2 per linear foot, while composite and PVC trim eliminate seasonal maintenance but cost two to three times more upfront, making them ideal for large or elevated decks.
- Hardwood, aluminum, and steel deck edge trim solutions offer premium finishes for architectural designs, with costs ranging from $8–$15 per linear foot depending on material and installation complexity.
- Picture-frame borders and decorative inlay designs transform deck edges visually but require precise layout planning, additional blocking, and increase material and labor costs by 5–25%.
- Proper installation matters: fasten trim every 16 inches with corrosion-resistant fasteners, allow expansion gaps for composite and PVC materials, and always seal end-grain edges before installation to prevent moisture wicking.
- Skipping deck edge trim saves money upfront but accelerates frame deterioration, detracts from resale value, and typically necessitates earlier structural replacement.
Why Deck Edge Trim Matters for Your Outdoor Space
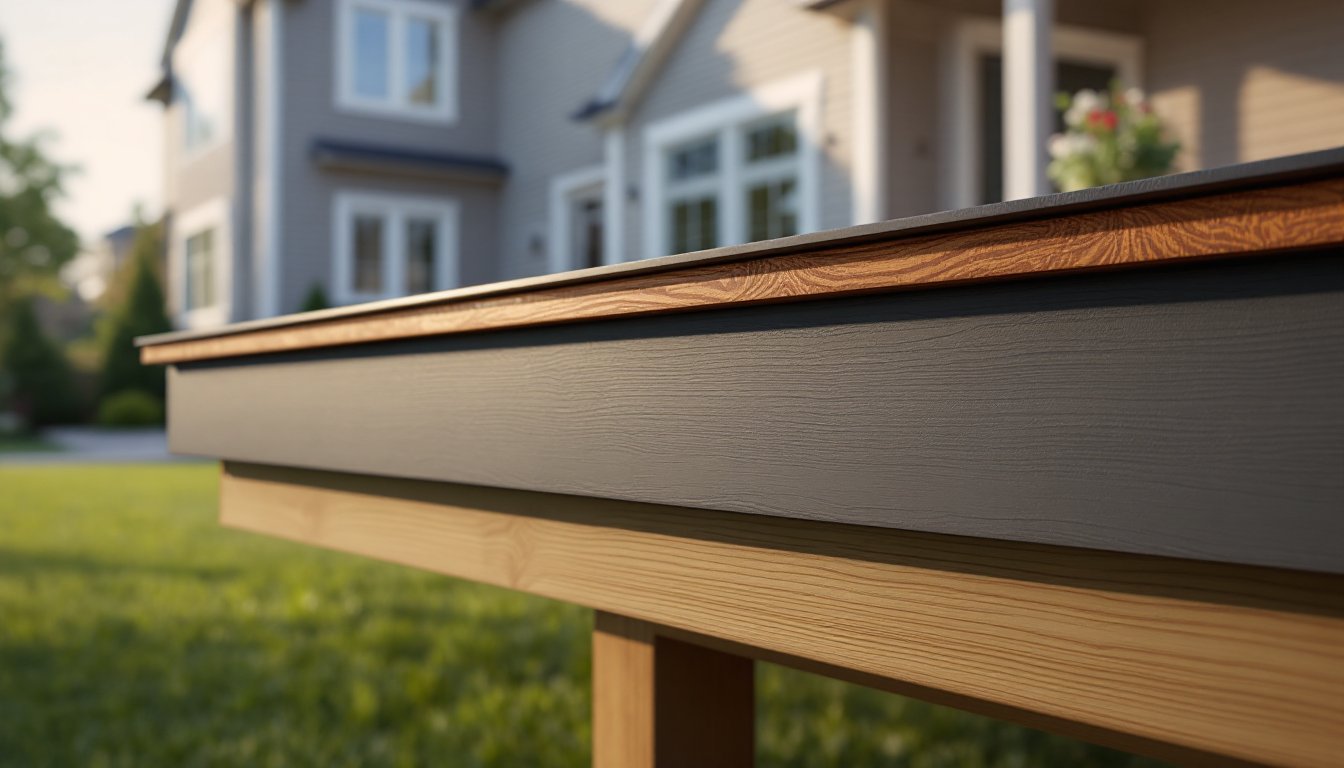
Deck edge trim serves three critical functions: structural protection, visual finish, and concealment.
From a structural standpoint, fascia boards shield rim joists from direct sun and rain. UV exposure degrades wood fibers, while moisture penetration leads to rot, mold, and fastener corrosion. A properly installed trim board creates a first line of defense, directing water away from the deck frame.
Aesthetically, trim covers the end grain of deck boards, the most vulnerable and least attractive part of any plank. It also hides joist hangers, hardware, and any minor layout inconsistencies. On elevated decks, fascia conceals the underside structure, creating a clean horizontal line.
Finally, trim provides a mounting surface for accessories. Railing posts, lighting fixtures, and even shade structures often anchor into or against the fascia, so choosing a material with adequate fastener-holding capacity matters.
Skipping edge trim might save a few dollars upfront, but exposed framing typically needs earlier replacement and detracts from resale value. Think of trim as both finish carpentry and preventive maintenance rolled into one task.
Classic Wood Trim and Fascia Board Options
Pressure-treated pine remains the workhorse for deck fascia. It matches most framing lumber, accepts paint or stain, and costs roughly $1–$2 per linear foot for a 1×8 or 1×10 board. Use boards stamped for ground contact (.40 or .60 retention) even above grade, the extra preservative guards against back-splash and trapped moisture.
Install fascia flush with the top of the deck surface or proud by ⅛ inch to hide any deck-board overhang. Fasten with hot-dipped galvanized or stainless-steel screws every 16 inches into the rim joist, pre-drilling to avoid splits. Butt joints will telegraph through paint unless you back them with a cleat or plan for a seam every 8–10 feet.
Cedar and redwood bring natural rot resistance and richer grain. Expect to pay $3–$6 per linear foot for clear or Select grades. Both species weather to silver-gray unless sealed annually with a penetrating oil or semi-transparent stain. They’re ideal for decks with matching railings or for homeowners committed to seasonal maintenance.
Hardwoods like ipe, cumaru, or tigerwood create a premium, monolithic look when the deck boards and fascia match. Hardwood fascia runs $8–$15 per linear foot and requires carbide-tipped blades, pre-drilling every fastener hole, and hidden fasteners or plugged screws for a clean face. These woods endure decades with minimal finish, but they’re dense and unforgiving to work with, not a beginner-friendly choice.
All wood fascia benefits from a coat of end-grain sealer on cut ends before installation, especially on vertical butt joints where wicking can start.
Low-Maintenance Composite and PVC Trim Solutions
Composite and PVC fascia boards eliminate seasonal staining and resist rot, insects, and UV fade. Most manufacturers offer fascia profiles in 12- and 16-foot lengths, color-matched to their decking lines.
Composite fascia (wood fiber and polymer) typically costs $3–$5 per linear foot. It installs much like wood: cut with a standard miter saw, fasten with corrosion-resistant screws, and leave a ⅛-inch gap every 18 feet for thermal expansion. Composite is heavier than pine but lighter than hardwood, and it won’t splinter or check.
Key gotcha: some composites sag between fasteners on long spans. Install blocking behind the fascia at 24-inch centers if the rim joist doesn’t provide continuous backing, or use a thicker profile (5/4 stock instead of 1× nominal).
PVC trim boards are fully synthetic, no wood content. They’re lighter, won’t absorb moisture, and cost $4–$7 per linear foot. PVC expands and contracts more than composite (about ¼ inch per 18 feet with a 100°F temperature swing), so allow gaps at all butt joints and use trim screws with oversized shank holes or PVC-specific fasteners.
Both materials can be routed, shaped, and mitred for decorative details, though PVC dulls blades faster. They accept paint, but most homeowners choose pre-colored stock. Color-match to the deck surface or go one shade darker for a shadow-line effect.
For best results, follow the manufacturer’s installation guide for that specific product, fastener spacing, gap allowances, and approved adhesives vary by brand.
Metal Edge Trim for Modern and Contemporary Decks
Aluminum trim coil (the material roofers use for drip edge) makes a durable, low-profile deck edge. It’s available in dozens of baked-enamel colors, costs around $2–$3 per linear foot, and installs over a wood substrate with color-matched trim nails or screws with neoprene washers.
Bend the coil yourself with a sheet-metal brake or order pre-formed profiles from a metal fabricator. A simple L-channel wraps the rim joist face and underside: a Z-channel adds a drip leg. The metal sheds water instantly, won’t rot, and resists carpenter bees. It does dent if struck and can look industrial without complementary design elements.
Steel angle iron or flat bar suits industrial-modern decks, think blackened steel railings and cable runs. Install with through-bolts or construction adhesive rated for metal-to-wood bonds. Steel needs powder-coating or a rust-inhibiting finish unless you’re after a weathered patina. Costs vary widely based on thickness and finish: budget $5–$12 per linear foot for fabricated and finished profiles.
One practical tip from construction pros: use metal trim sparingly on decks with wood railings. The contrast can feel disjointed. Metal fascia shines when the entire deck palette leans modern, composite or ipe decking, stainless cable rail, and minimalist lighting.
Picture Frame Borders and Decorative Inlay Designs
A picture-frame border runs perimeter boards perpendicular to the field deck boards, creating a visual frame. This approach doubles as edge trim: the border boards overhang the rim joist by ¾ to 1½ inches, hiding the framing and end grain in one move.
Installation requires blocking between joists every 16 inches to support the border-board ends. The border should match the deck-board material or contrast intentionally (dark border on light decking, or vice versa). Miter the corners at 45 degrees for a clean join, use a miter saw or circular saw with a guide, and back-cut slightly to ensure the face joint closes tight.
Picture-frame borders add 5–10% to material costs and increase layout complexity. Every deck board in the field must land on a joist, so layout planning is critical. Don’t attempt this on a deck with irregular shapes or angles unless you’re comfortable with compound miters.
Inlay patterns, herringbone borders, diagonal accents, contrasting stripes, elevate the design further. These require additional blocking, precise cuts, and hidden fasteners (face screws break the illusion). Expect to add 15–25% to both material and labor time.
For anyone planning intricate inlay work, consulting detailed project plans can save hours of head-scratching and material waste. Measure twice, dry-fit, then fasten.
Choosing the Right Trim for Your Deck Style and Budget
Match trim material to deck usage, climate, and maintenance tolerance, not just aesthetics.
Budget-conscious builds: Pressure-treated fascia painted to match the house trim delivers clean results for under $100 on a typical 12×16 deck. Plan to repaint every 3–5 years and check for fastener pop or board cupping.
Low-maintenance priorities: Composite or PVC fascia costs two to three times more upfront but requires only occasional washing. This pays off on large or elevated decks where accessing the perimeter for maintenance is a hassle.
High-design or architectural decks: Hardwood fascia or picture-frame borders create a premium look that pairs well with luxury outdoor furniture and integrated lighting. Budget at least $500–$1,000 for materials on a medium-sized deck, plus skilled labor if hiring out.
Modern minimalist: Metal trim, especially dark aluminum or steel, suits contemporary homes with industrial finishes. It’s also the best choice in wildfire-prone zones, where noncombustible materials earn insurance and code compliance points.
Don’t forget permits. Fascia replacement on an existing deck rarely requires one, but if you’re altering the structure, adding blocking, changing joist layout for a picture frame, or extending the platform, check local building codes. Many jurisdictions treat any modification to the ledger or load-bearing frame as new construction.
For comprehensive guides on deck framing and finish details, experienced builders often recommend dry-fitting the entire trim run before driving a single fastener. It’s tedious but catches measurement errors and material defects early.
Conclusion
Deck edge trim isn’t optional, it’s the difference between a project that looks DIY and one that looks designed. Choose materials that align with your maintenance habits, budget, and climate. Install with care: straight lines, consistent reveals, and proper fastener spacing make or break the finished appearance. A well-trimmed deck protects its structure, enhances curb appeal, and gives every backyard gathering a polished backdrop.